How to Declutter a Home You Actually Live In (Not a Magazine Shoot)
Transformation Tribesa · September 22, 2026
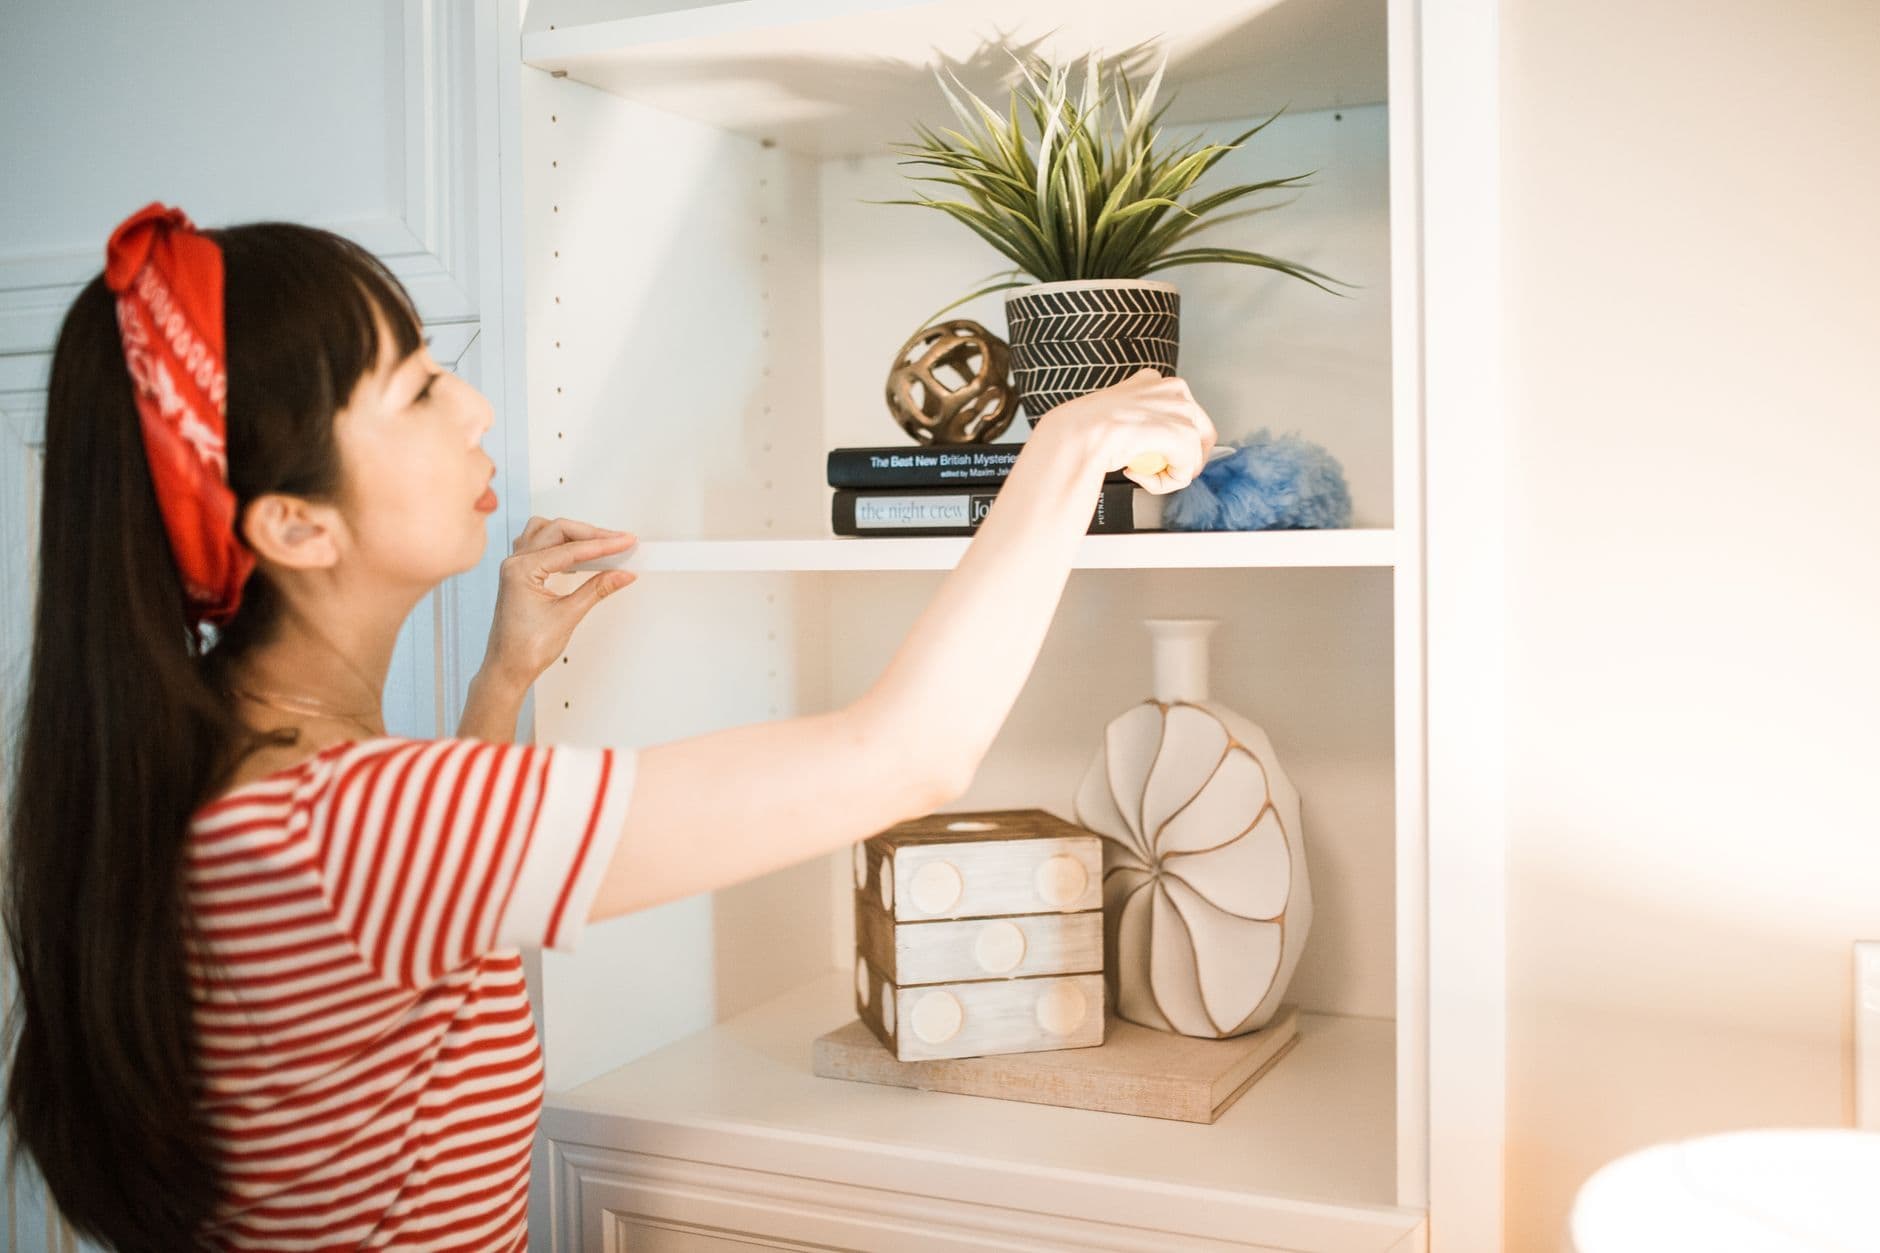
Most decluttering attempts fail for one of two reasons: an all-or-nothing weekend purge that leaves you exhausted and half your stuff back in place by Tuesday, or organizing before decluttering, which just means you now have a beautifully labeled bin full of things you didn't need in the first place. Learning how to declutter your home in a way that actually lasts usually means working in smaller, less dramatic pieces than the before-and-after photos suggest.
None of the tactics below require a free weekend, a trip to The Container Store, or reading a whole book on tidying (though Marie Kondo's KonMari method works well for some people). Some clutter is just life with kids, pets, or a small apartment with no storage, not a personal failing.
Why "How to Declutter Your Home" Advice Usually Doesn't Stick
The advice that dominates social media assumes you have an empty Saturday, a spare room to spread everything out in, and the emotional bandwidth to make hundreds of decisions in a row. In practice, most of that decision-making capacity runs out fast, a pattern researchers call decision fatigue. The tactics below are built around small, low-decision sessions instead of one heroic purge.
1. Set a Timer Instead of a Goal
Instead of deciding to "declutter the kitchen," decide to declutter for fifteen minutes, wherever you end up. This sounds too small to matter, but the people who keep a decluttering habit going for years almost never work in multi-hour sessions. Fifteen minutes is short enough that you'll actually start.
The detail generic advice misses: stop when the timer goes off, even mid-drawer. Stopping on time, not on "done," is what makes you willing to start again tomorrow.
2. Declutter One Category, Not One Room
Rooms mix easy decisions (obvious trash) with hard ones (sentimental items, "might need it someday" items), so a room-by-room approach stalls at the first hard decision. Working by category instead, all your mugs at once, all your phone chargers at once, keeps similar decisions grouped together, which is genuinely less draining.
Implementation note: start with the easiest category you own (usually expired pantry items or duplicate kitchen tools), not the hardest (photos, gifts), to build momentum before tackling anything emotional.
3. Use a Four-Box Method, Not Two
Keep, donate, and trash is the standard three-box setup, but it forces a decision on things you're genuinely unsure about, which is where most purges stall out. A fourth box, "decide later," holds anything you can't confidently place, sealed and dated. If you haven't opened it in three months, donate it unopened.
The pitfall generic lists skip: label the box with the date, not just "maybe," or it becomes a permanent fifth category of clutter instead of a temporary holding pen.
4. Apply the One-In, One-Out Rule to One Category First
Trying to apply "one in, one out" to your entire home at once is its own form of all-or-nothing thinking. Pick one category prone to creep, books, water bottles, tote bags, and apply the rule there first. Once it's automatic for that one category, it's much easier to extend.
Cost to implement: zero, just a mental rule. The common mistake is trying to enforce it everywhere immediately and abandoning it within a week because it feels like a constant tax on every purchase.

5. Photograph Sentimental Items Before Deciding
Sentimental clutter, kids' artwork, concert t-shirts, inherited items you don't actually like, is the category that derails most purges because the decision feels like it's about the memory, not the object. Photographing the item first, in a nice light, on a clean surface, often makes it easier to let the physical object go because the memory itself feels preserved.
The detail worth knowing: make an actual photo album or folder for these, digital clutter that's never looked at defeats the purpose almost as much as physical clutter does.
6. Build a Capsule Version of One Category, Not Your Whole Wardrobe
A full capsule wardrobe overhaul is a lot to take on at once. A smaller version, just your workout clothes, or just your t-shirts, teaches you the actual process (what you wear repeatedly versus what you own out of guilt) on a scale that takes an afternoon, not a season.
Implementation cost: about an hour for a single category. The pitfall is trying to capsule your entire closet on the first attempt and quitting halfway through from decision fatigue.
7. Give "Might Need It Someday" Items a Real Deadline
The sunk cost feeling attached to things you paid for but never use is one of the strongest reasons clutter accumulates. A specific, written deadline (not "eventually," an actual date six months out) turns a vague feeling into a decision you can actually act on when the date arrives.
The detail most guides skip: write the deadline on the item itself with painter's tape, not just in your head, so the decision doesn't quietly get postponed indefinitely.
8. Make Donating as Easy as Throwing Away
A lot of "keep" decisions are really "I don't want to deal with donating this" decisions in disguise. Keeping a donation bag or box permanently in a closet, and a standing habit of dropping it at a donation center whenever it's full, removes that friction. Local giveaway networks like the Buy Nothing Project or Freecycle work well for larger items nobody wants to haul to a drop-off point.
[VERIFY: any specific claim about how long items typically sit in "donate" piles before actually leaving the house should be checked, since this varies enormously by household and isn't something to state as a fixed statistic.]
9. Take One Object With You Every Time You Leave a Room
This is less a decluttering session than a standing habit: whenever you walk from one room to another, carry one thing that doesn't belong there and put it where it does. A mug from the living room to the kitchen, a toy from the hallway to the playroom bin. It sounds too small to matter, which is exactly why it survives busy weeks that would derail a scheduled decluttering block.
The detail worth knowing: this only works if "where it belongs" already has an obvious home. If a category of object doesn't have a designated spot yet, this habit will just relocate the clutter instead of resolving it, so it pairs well with the four-box method above for anything still homeless.
10. Reset One Surface Every Evening
Pick one surface, a kitchen counter, an entryway table, and spend two minutes clearing it completely each night. This isn't decluttering in the purging sense, it's a maintenance habit that keeps clutter from re-accumulating on the areas you see first thing each morning, which matters more for how a home feels than most single-category purges do.
The pitfall: picking a large surface (a whole kitchen) instead of a small one (one counter), which makes the two-minute promise unrealistic and the habit collapses within a week.
Where to Actually Start
Not all ten at once. If you're starting from a home that feels overwhelming, begin with the fifteen-minute timer and one easy category, like duplicate kitchen tools or expired pantry items. Once that feels automatic, add the evening surface reset. Together those two take under twenty minutes a day, they don't require buying storage bins first, and they build the habit of small, low-stakes decluttering sessions that the harder categories, like sentimental items, will eventually need. The "one object out" habit is worth adding third, once the first two feel automatic rather than effortful, since it depends on categories already having a designated home to work.